How to create a custom ringtone for iPhone – Full Guide
Change your default iPhone ringtones to ringtones or sounds of your creation.
How to create a custom ringtone for iPhone: Like most people, you want your iPhone to reflect your unique style and personality. One way to accomplish this is by customizing your ringtone! Don’t settle for the boring default ringtone – choose any song or melody that inspires you and makes you want to dance. Our article will show you how to add your favorite song or tune as your iPhone ringtone, whether you’re using a Mac, Windows, or even your iPhone.
Table of Contents
In this explanation, we will create a custom ringtone for your iPhone through your Mac, iPhone, and Windows device.
We will explain both methods separately so that you can learn how to set a song as a ringtone on an iPhone.In every possible way
How to create and install ringtones from songs on Mac
Are you tired of hearing the same old ringtone on your iPhone? Let’s spice things up and create a custom ringtone showing your unique style! In this article, we’ll show you how to create a custom ringtone for your iPhone using your Mac. Don’t worry, it’s super easy! Follow these simple steps to learn How to create and install ringtones from songs on Mac.
Open the Music app on your Mac.
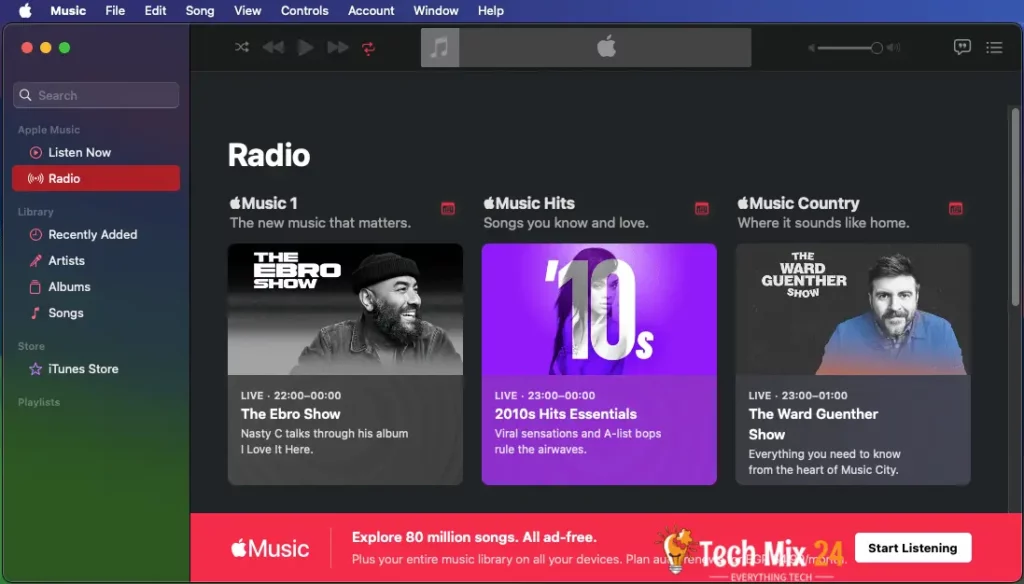
If you have the desired song or sound in your Library, search for it in the categories on the left side of the screen.
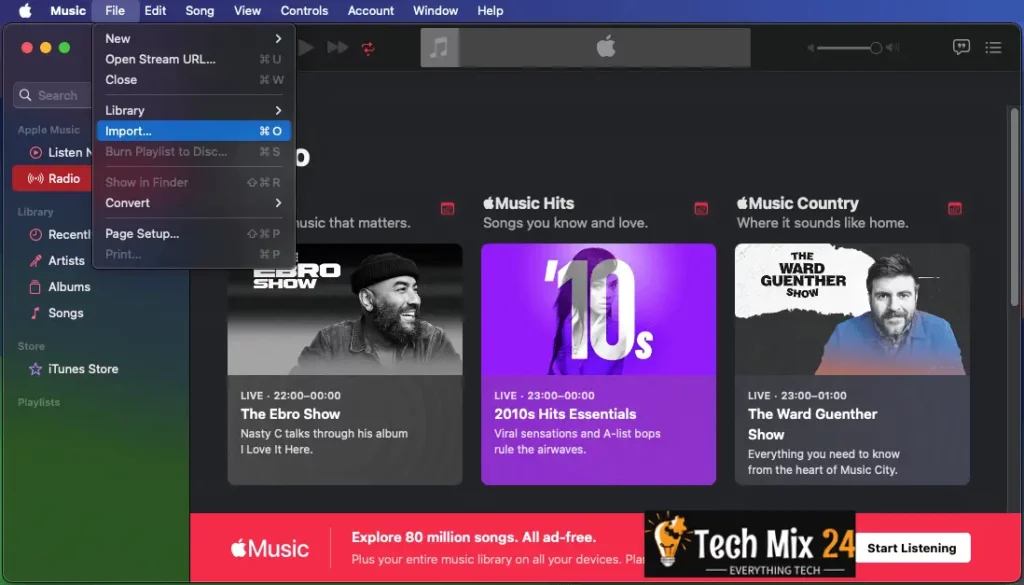
If you want to use a song or sound not included in your music mix, import it by clicking “File” in the top bar.
To add a file, find it and select it. Then click “Open”. Or, if you want to check it out first, you can click the play button on the file icon to preview it.
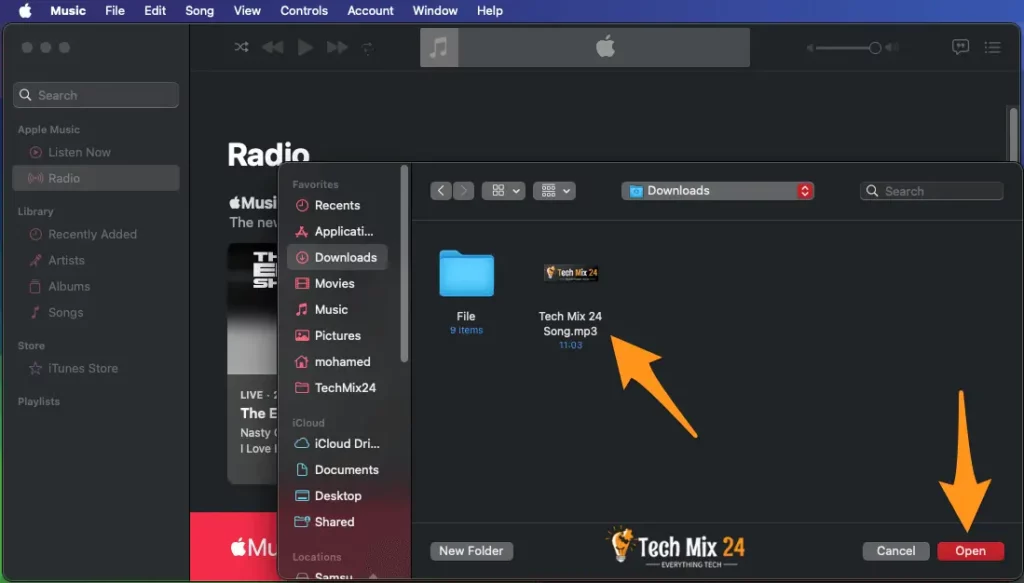
The recently added File can be found under the “Recently Added” section.
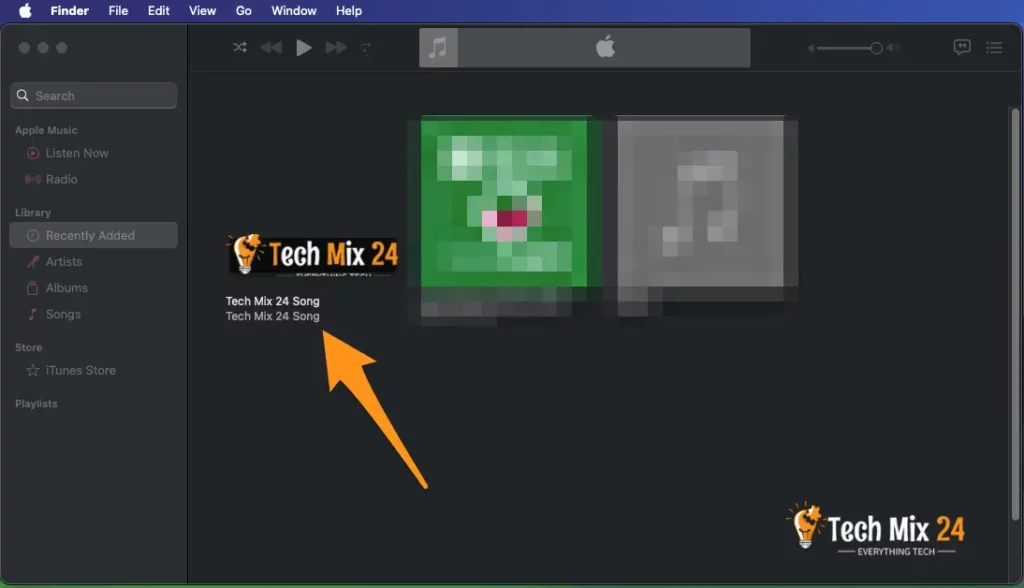
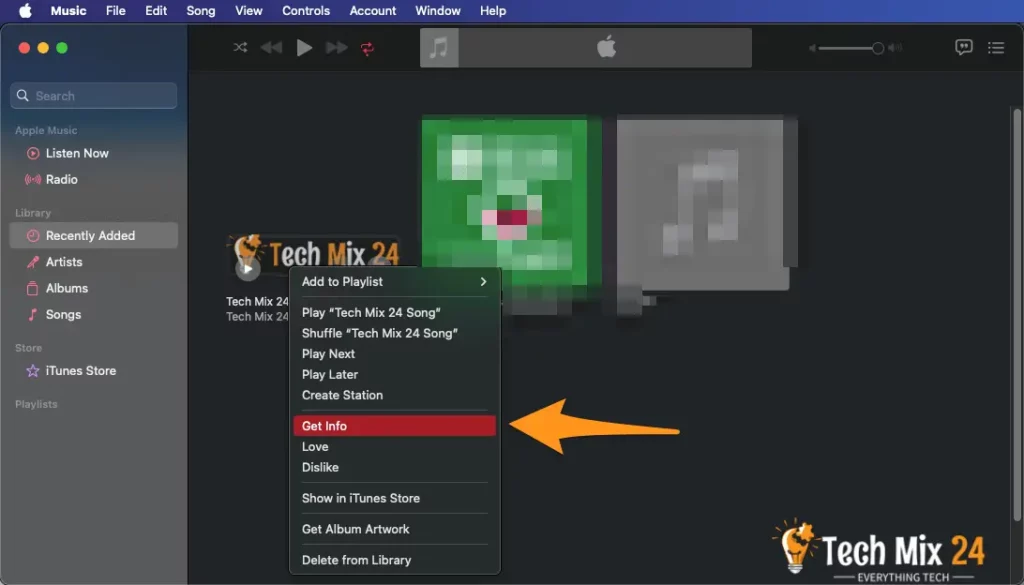
To access more information about a song, right-click on it and select “Get Info.”
Please input the desired start and stop times in the designated fields located under the Options tab. Remember that the clip cannot exceed 30 seconds in length. Thank you!

To confirm your choice, click on the OK button.
To create an ACC version, click on the clip on the info page and select File> Convert > Create ACC Version from the top of the screen.

The additional clip lasting only 30 seconds will be readily visible in the roster under the primary clip.
After you create the clip, follow the previous steps to restore it to its original length. Ensure you uncheck the Start and Stop boxes; it will return to normal when you click OK.
Find the File on your computer by right-clicking the 30-second clip and selecting “Show in Finder.” The File should have a “.m4a” extension.

To rename the File, right-click on it and choose “Rename.”
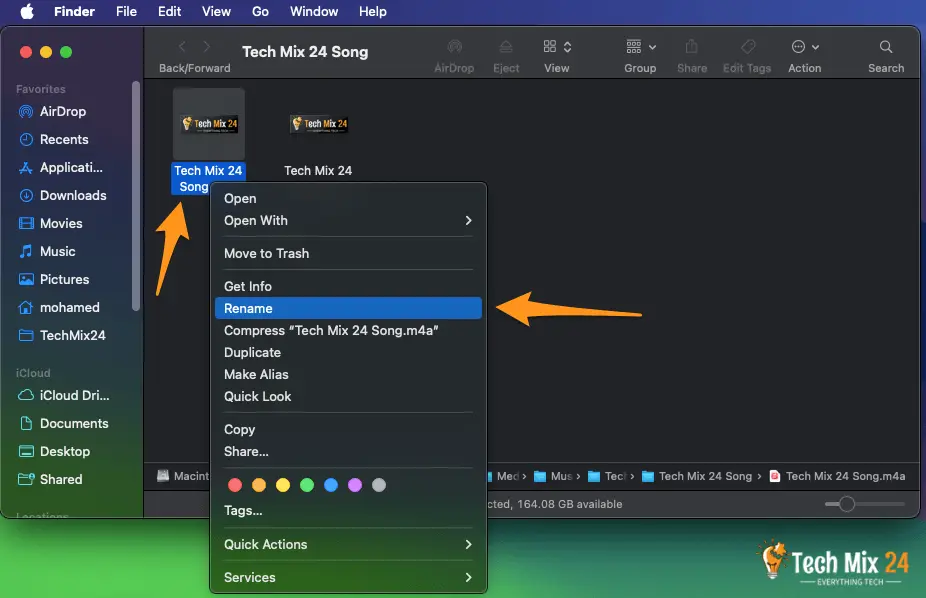
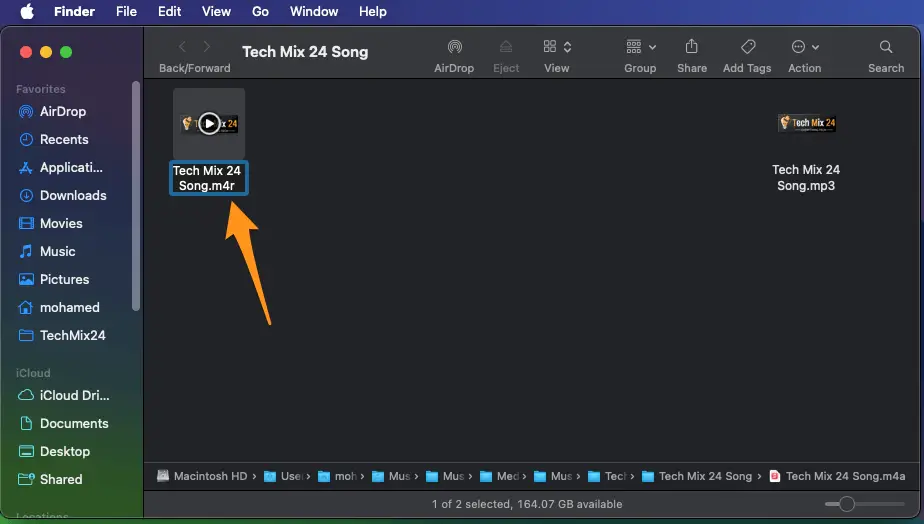
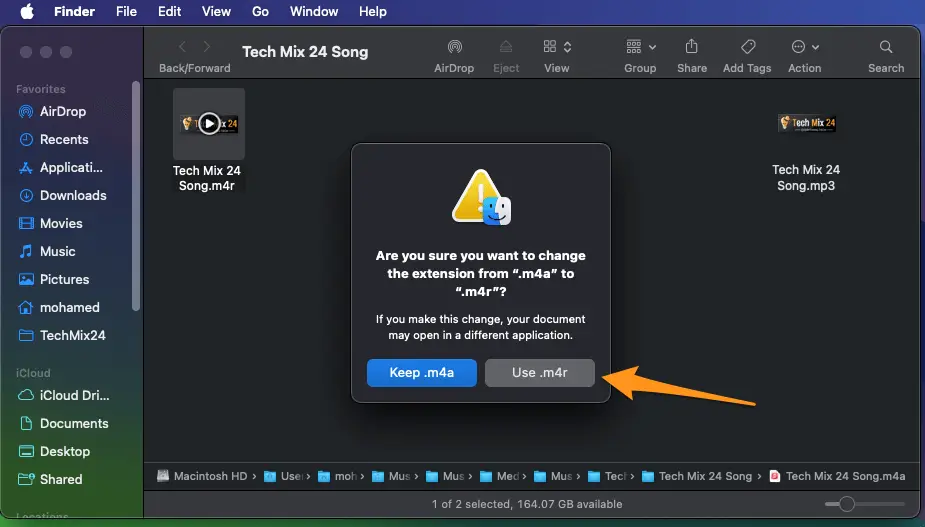
When creating a ringtone for iPhone, change the file extension from “.m4a” to “.m4r” to recognize it.
Next, confirm your agreement to modify the file extension.
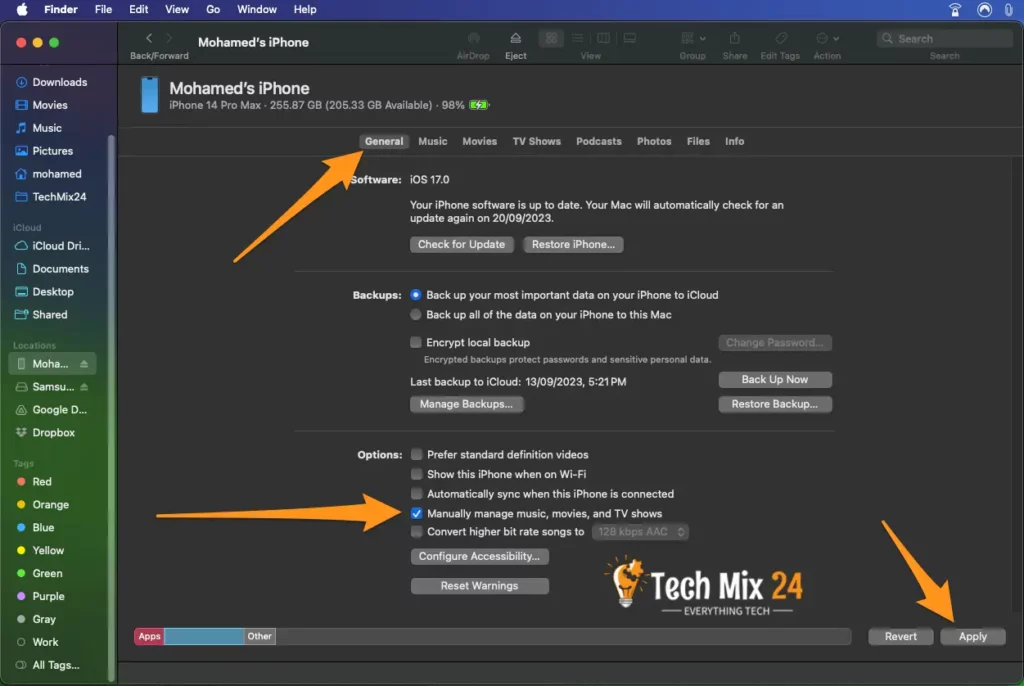
After connecting your phone, choose to manage Music, movies, and TV shows manually.
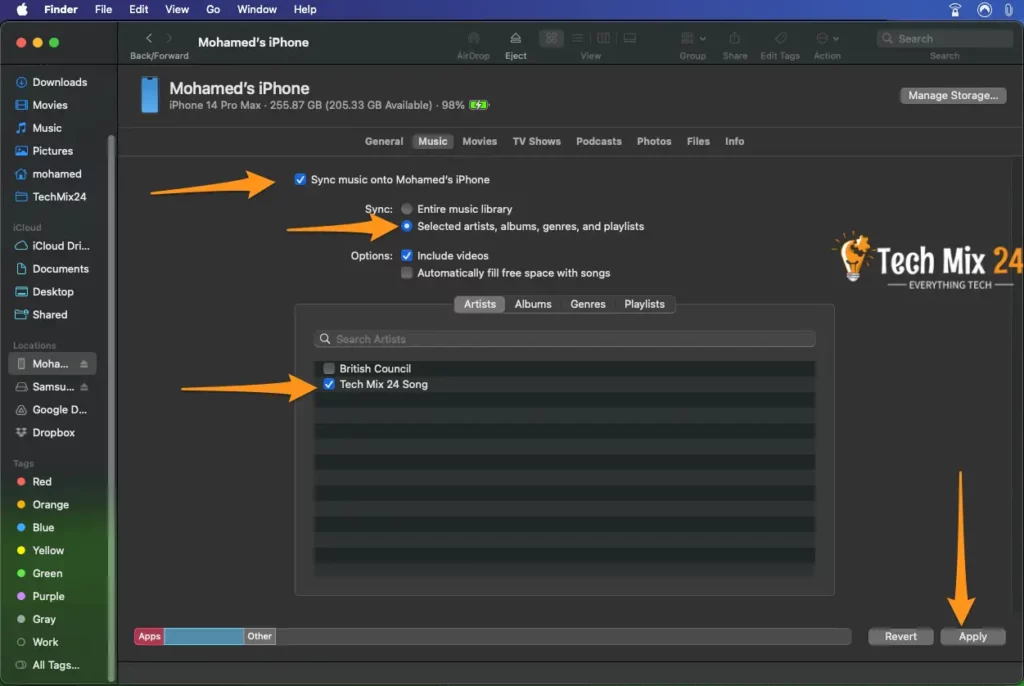
Click on the Music tab, choose Selected Artists, albums, genres, and Playlists, choose Include Videos, and then select the audio clip you want to sync to your phone to change the default ringtone for your iPhone.
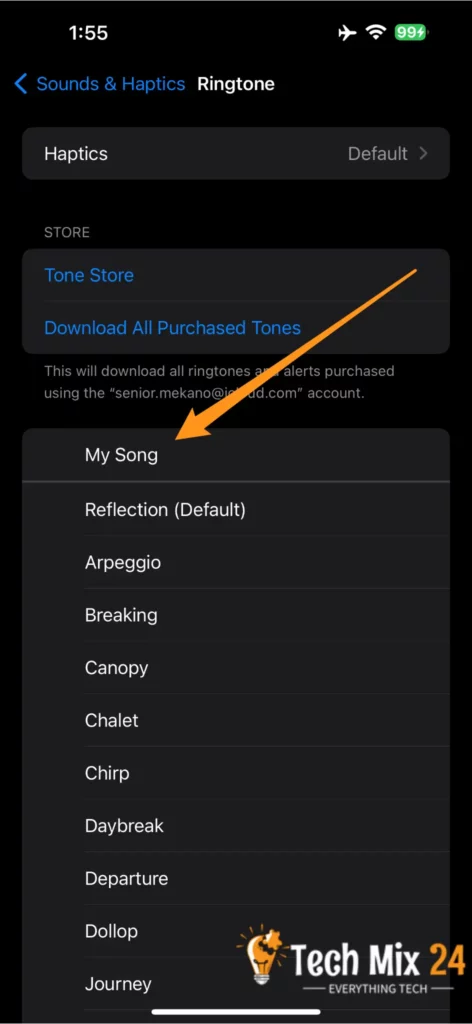
If you can’t find your new ringtone on the Music page of your iPhone, try navigating to Settings > Sounds & Haptics > Ringtone to locate it. The new ringtone should be at the top of the list. Tap it to set it as your new ringtone, and you’re all set!
How to create and install ringtones from songs through Windows
Learn how to create personalized ringtones for your iPhone using your favorite songs on your Windows PC. Our step-by-step guide will show you how to convert audio files, format them, and transfer them onto your phone. Make your incoming calls and messages unique and personalized. Join us on this journey and achieve this goal easily and quickly.
Your audio file is likely in MP3 format, and to use it as a ringtone, you will need to convert it to AAC format. However, you can skip this step if your audio file is already in AAC format or has a .m4r extension.
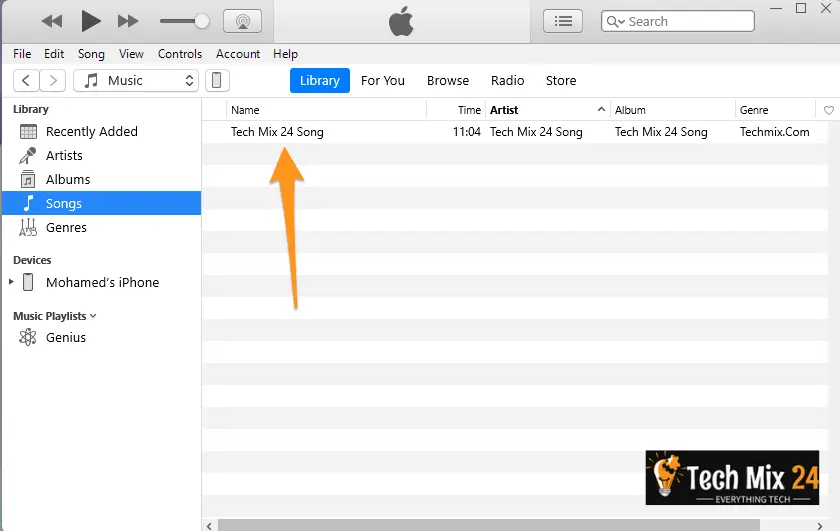
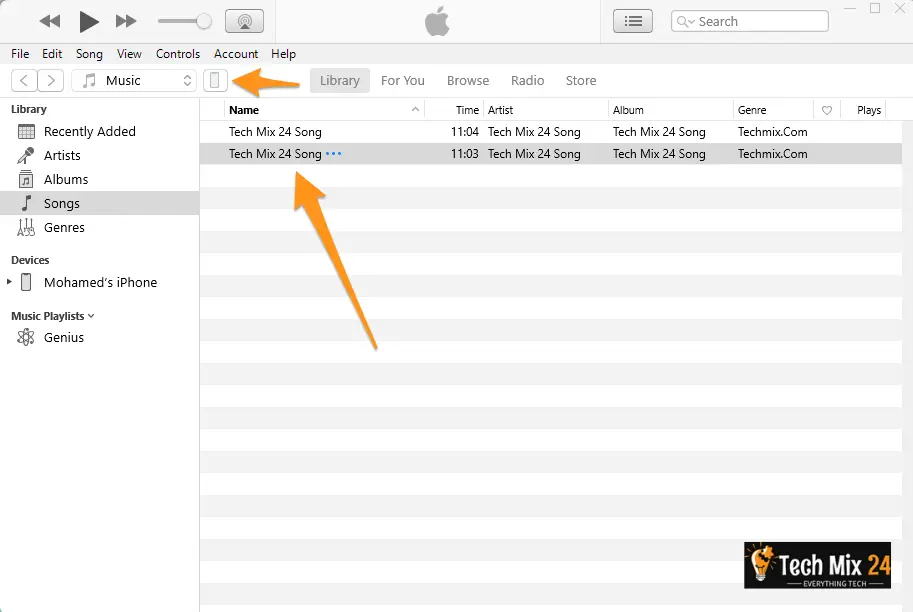
Firstly, add the audio file to your iTunes library by dragging and dropping it directly. Once added, you can find it easily by searching for it under Library> Songs.
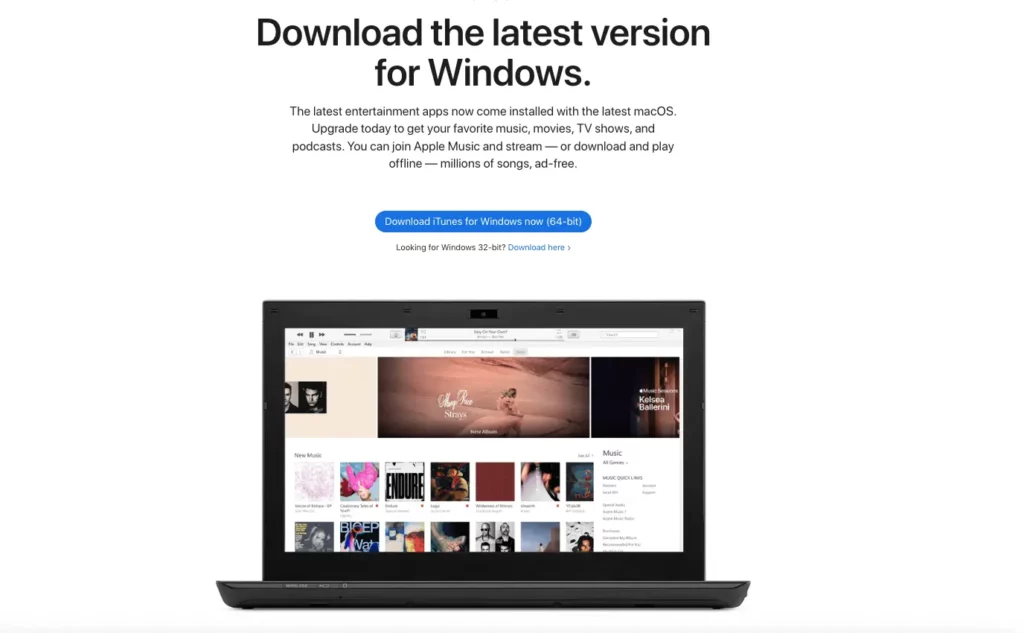
Download iTunes
For Windows users interested in creating a custom ringtone from a music file and transferring it to their iPhone, it is necessary to download and install iTunes. While Mac devices typically come with iTunes pre-installed, those who use Windows can obtain it free from Apple’s official website at apple.com/itunes/download. It is crucial to ensure that the latest version of iTunes is installed as this facilitates seamless synchronization of ringtones. While some apps and websites may offer ringtone creation services, using iTunes directly is the most efficient option as it allows for easy syncing of the File back to the iPhone after customization.
Add a song to change the default iPhone ringtone.
First, add a song to your iTunes library to create a ringtone from a song on iTunes. You can do this by dragging and dropping the song into the iTunes window or clicking File → Add File to Library (on PC) or iTunes → Add to Library and selecting the File. If you encounter compatibility issues when adding the song, you can convert it to MP3 format by following instructions on converting a WAV audio file to MP3.
Convert your audio file or song to the AAC format.
To ensure that your audio file or song is compatible with your iPhone, it would be best to convert it to AAC format.
For optimal compatibility with your iPhone, it is recommended that you convert your audio file or song to the AAC format. This will ensure that the File can be played seamlessly on your device without any issues. Converting your File to AAC format is a straightforward process that can be quickly done using various software and online tools. This simple step lets you enjoy your iPhone music without hassle or inconvenience.
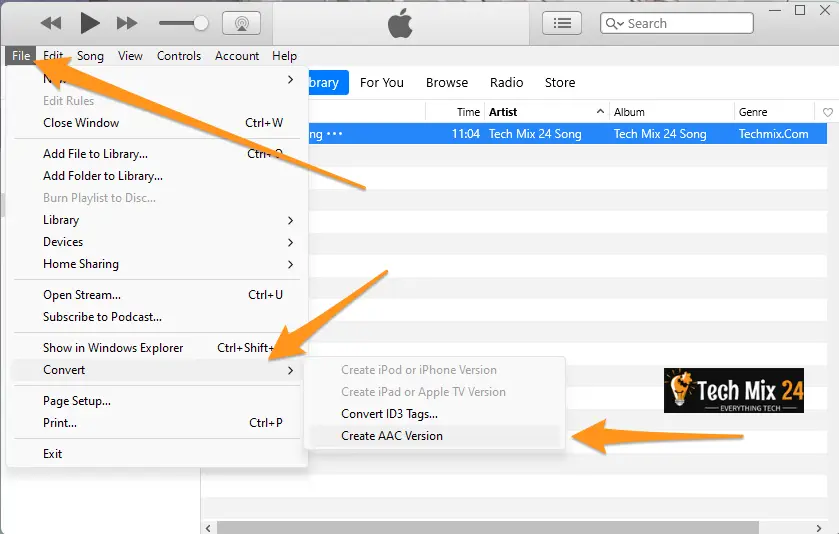
Select an audio file in iTunes, then go to File> Convert > Create AAC Version.
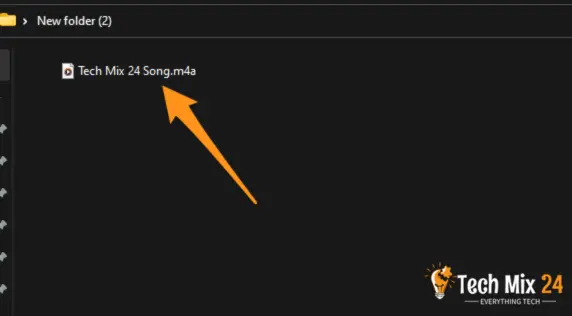
When you receive the ringtone file, it will come in AAC format and have the file extension .m4a. However, if you cannot see the extension after the file name, you will need to activate file extensions. To do this, you can right-click the File, select Rename, tap the Rename button, and then modify the file extension to .m4r. For example, if the file name is Tech Mix 24.m4a, change it to Tech Mix 24.m4r.
The audio file will appear once exported from iTunes to AAC format on your computer.
You will find two versions of a song saved in their iTunes library. These versions may differ in format, with one being an MP3 file and the other an AAC file. Keeping track of these versions is essential as they may have different sound qualities and compatibility with various devices.
Sync iPhone to add a ringtone from a song
To display phone data and synchronize audio and songs to set them as a ringtone for the iPhone instead of the default ringtone for the iPhone. Otherwise, you can control your phone entirely through iTunes, but in our explanation, we focus on adding a song instead of the default ringtone for the iPhone.
To access phone controls, click on the icon shaped like a phone.
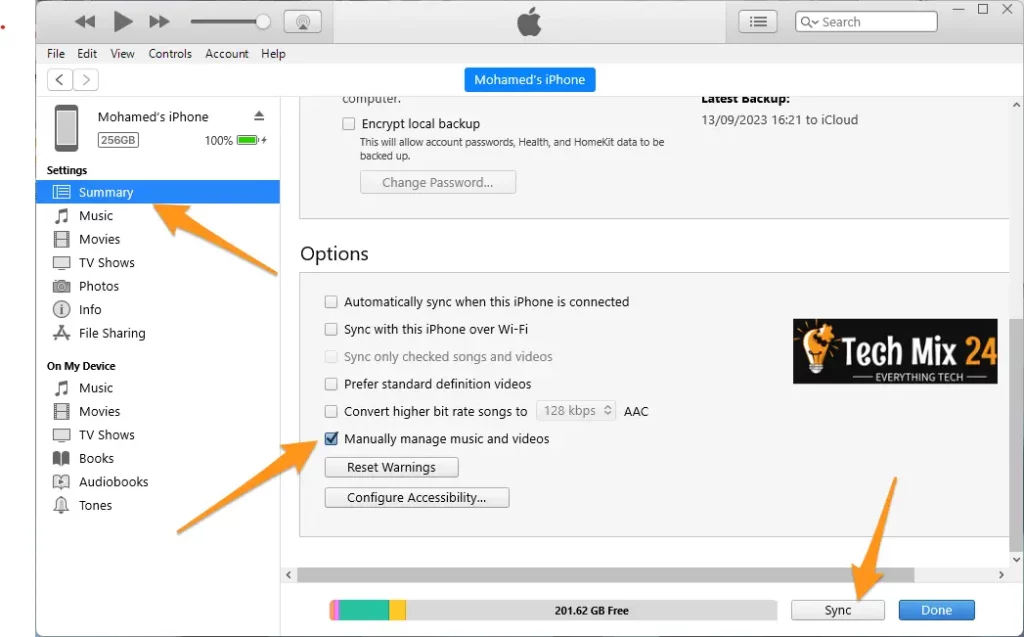
To transfer the audio file or song to the ringtones on your phone through iTunes, you must do the first steps: choose Manually Manage Music and Videos and then click on Sync.
Add the ringtone file to your iPhone
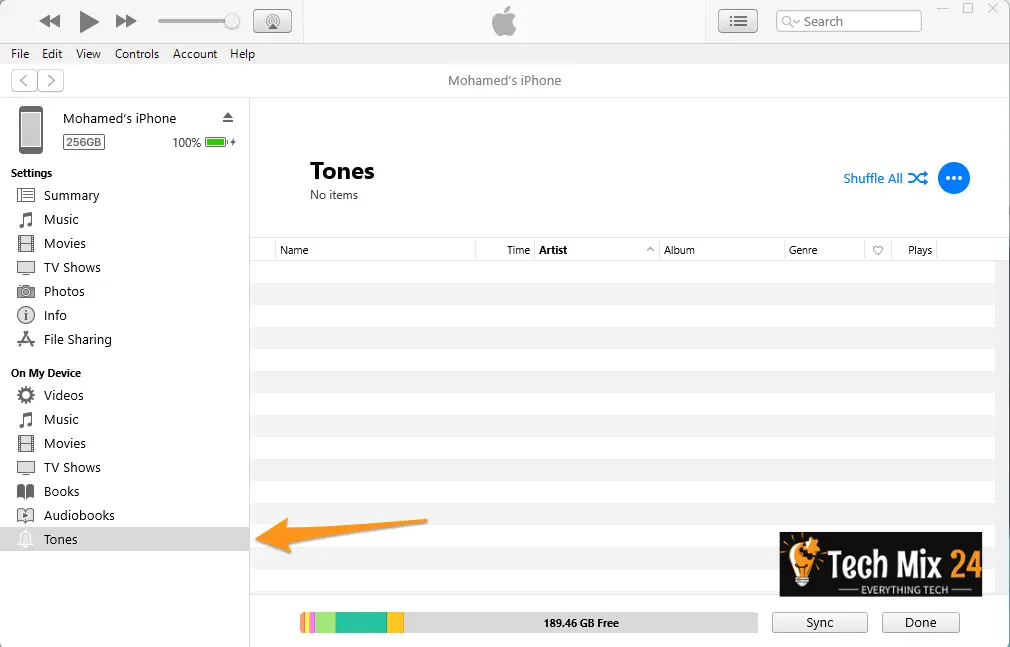
To access the “Tones” section, go to the left sidebar.
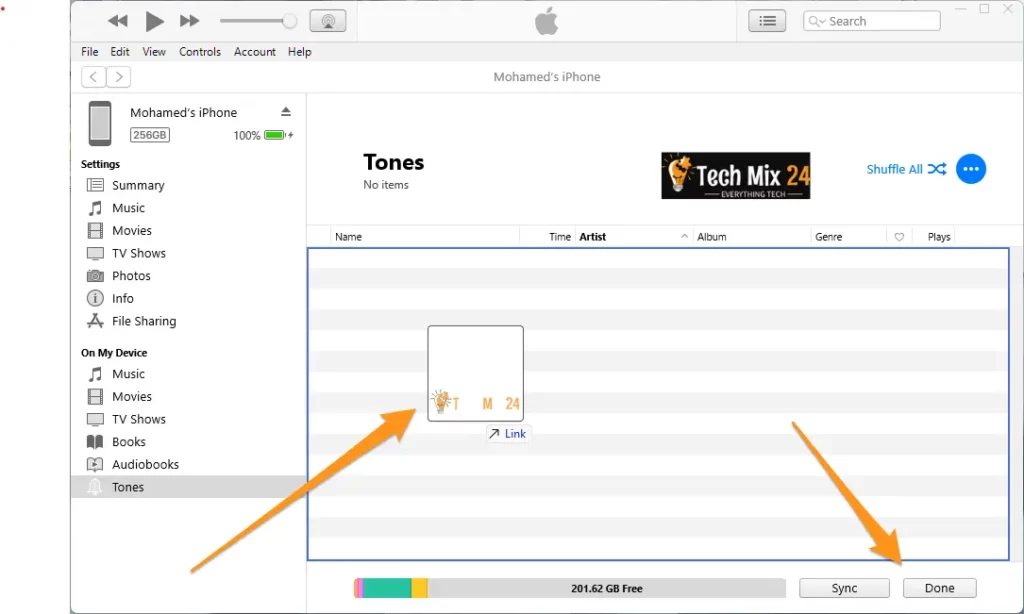
To add a .m4r ringtone file to iTunes, drag and drop it from its folder to the Ringtones section. If this doesn’t work, you can copy and paste as an alternative. Select the ringtone file in File Explorer, press Ctrl+C, or right-click and select Copy. Then, go to the ringtone list in iTunes, click on it, and press Ctrl+V to paste the File.
Choose your ringtone
If you want to switch up your iPhone’s ringtone, you can do so by navigating to the Settings app. Once there, select the Sounds & Haptics option and then tap on the Ringtone setting. Hoose a new ringtone you’ll enjoy hearing whenever your phone rings.
How to create a custom ringtone for iPhone without iTunes and Music
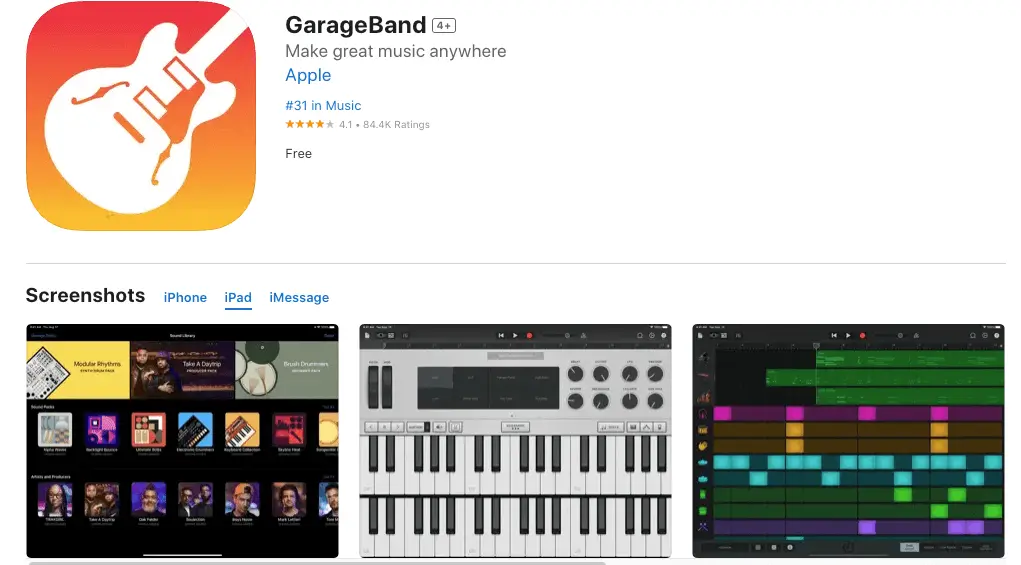
If you want to make custom ringtones for your iPhone, many options are now available that are just as efficient and user-friendly as iTunes. One great alternative is the Garageband app.
We’ve compiled a complete guide on using Garageband to create personalized ringtones that truly represent you. You won’t need to rely on pre-existing music files or use iTunes. Our step-by-step instructions will take you through everything, from importing songs to exporting your final creation to your iPhone.
With our easy-to-follow instructions, you can unleash your creativity and make unique ringtones. There are no more limitations – say goodbye to the old way and hello to the freedom of making your custom ringtones with Garageband.
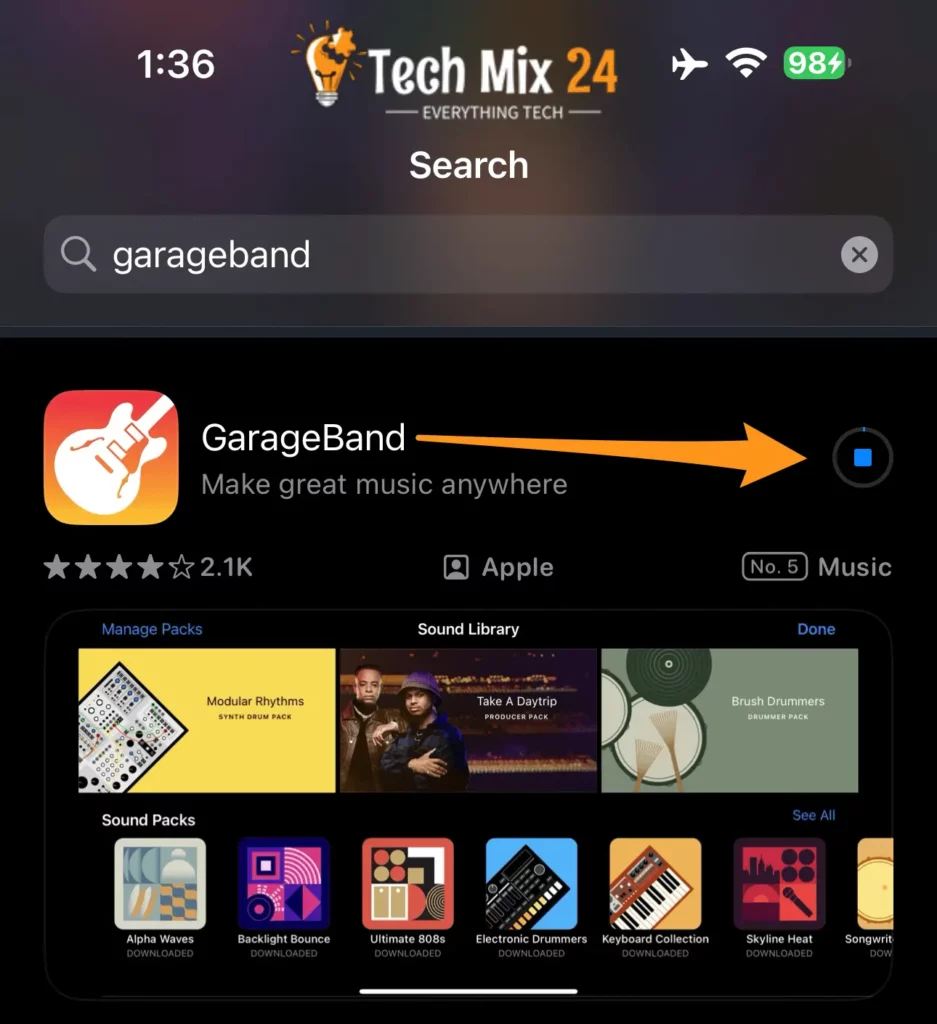
Install Garageband from the Apple App Store if not already installed.
After clicking on the “GarageBand” application, you will see this message: “GarageBand” Would Like to
Access the Microphone
Microphone access allows you to record audio for your projects in GarageBand. Approve it

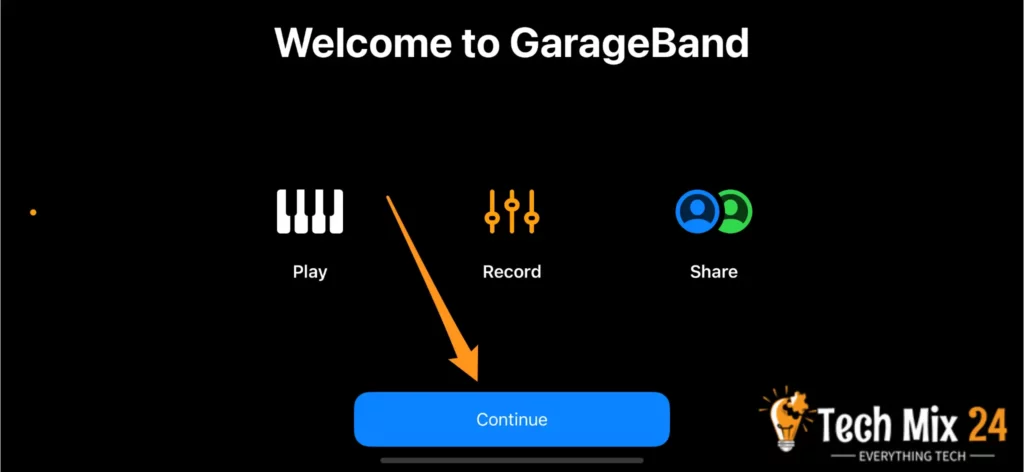
You will find a welcome message: “Welcome to GarageBand.” Click Continue.
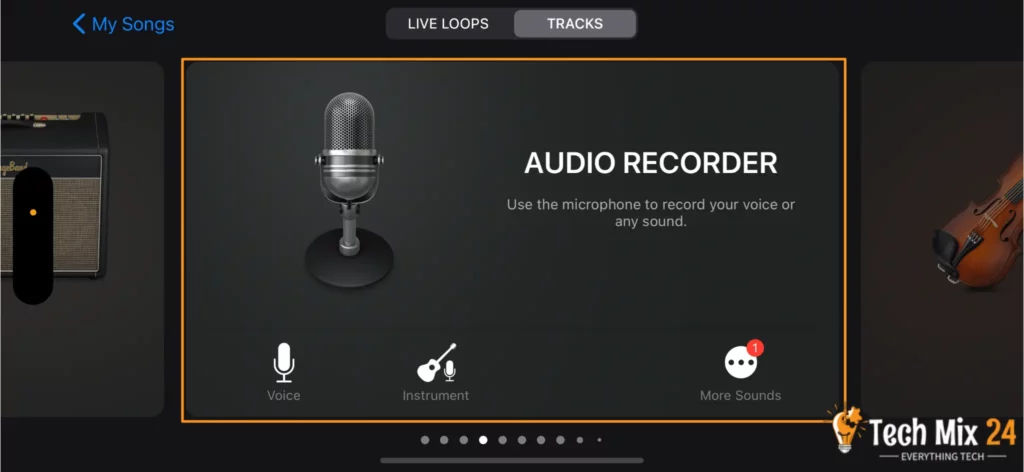
After clicking Continue. Choose this option. “AUDIO RECORDER
Use the microphone to record your voice or any sound.”
To access Tap View, locate the icon with horizontal lines on the top left corner of your screen and tap it.
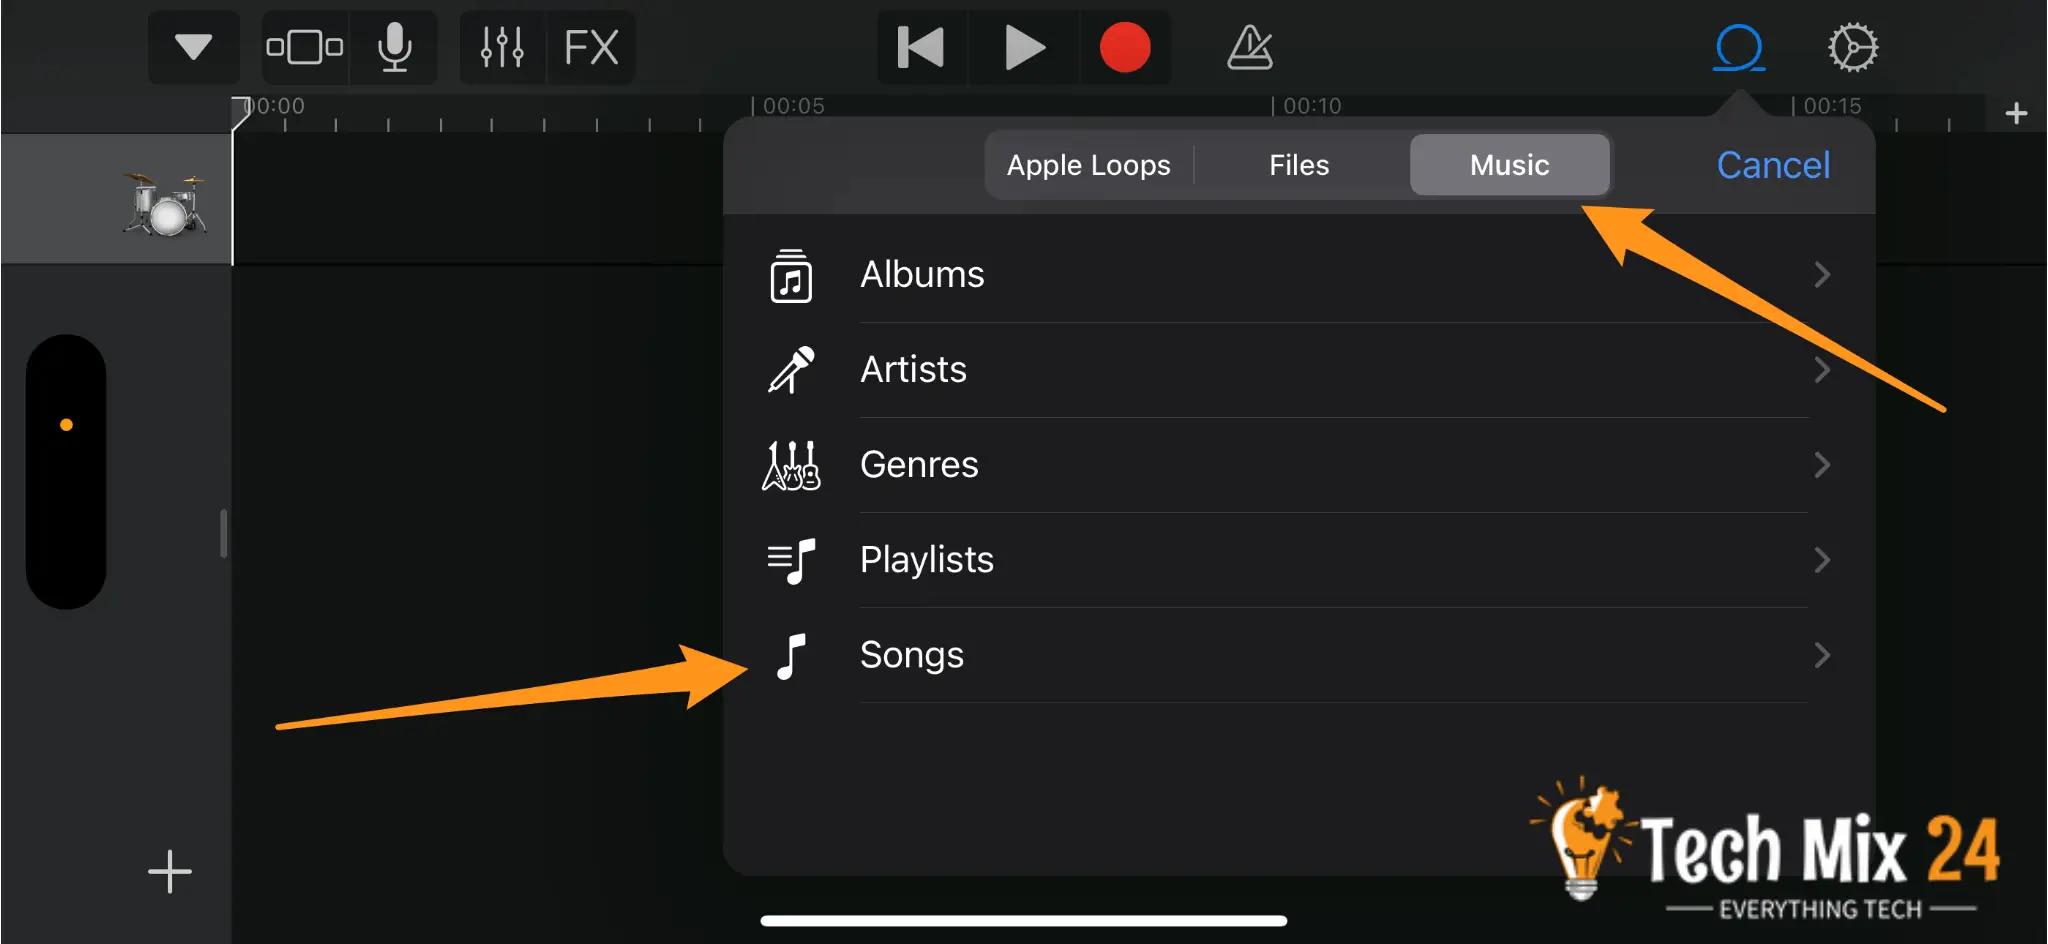
Click the small ring icon labeled Loop near the screen’s top-right corner.
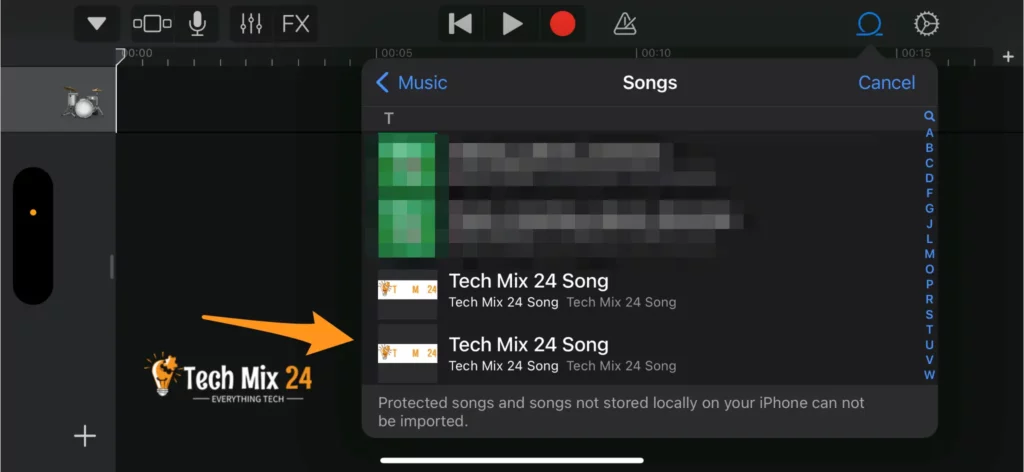
Click Music and then choose Songs.

Choose the audio File or song you want to use as an iPhone ringtone. In my case, I cut an audio clip that was 30 seconds long to save myself the hassle of cutting the song from the program. If your piece exceeds 30 seconds, you can choose and edit it. We will explain how to edit the audio clip or song and export it to a ringtone for the iPhone.
Setting the starting point for your audio clip is easy peasy! Just click and drag along the ruler bar below the Play and Record buttons. But remember that the ringtone you choose cannot last 30 seconds.
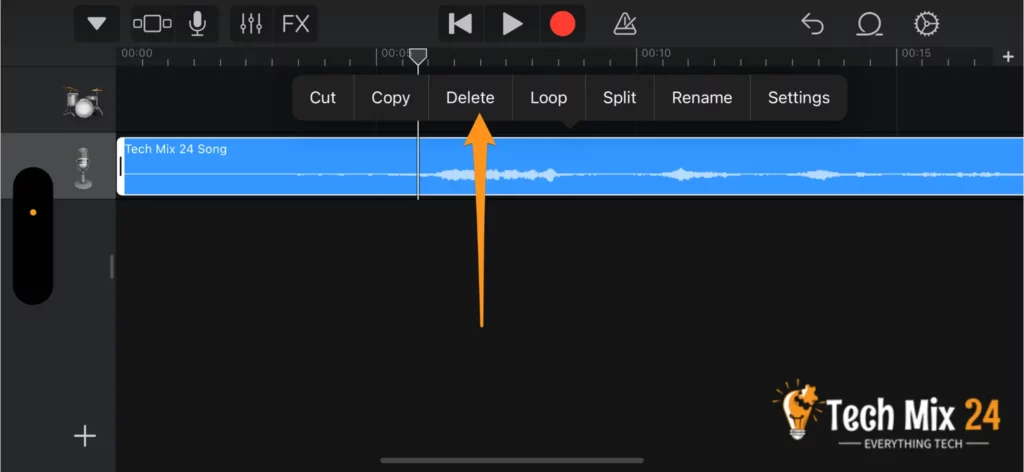
To create a fully customized ringtone, place the cursor in the desired location and click delete to remove unwanted portions. This will allow you to tailor your ringtone to your specifications and make it unique.
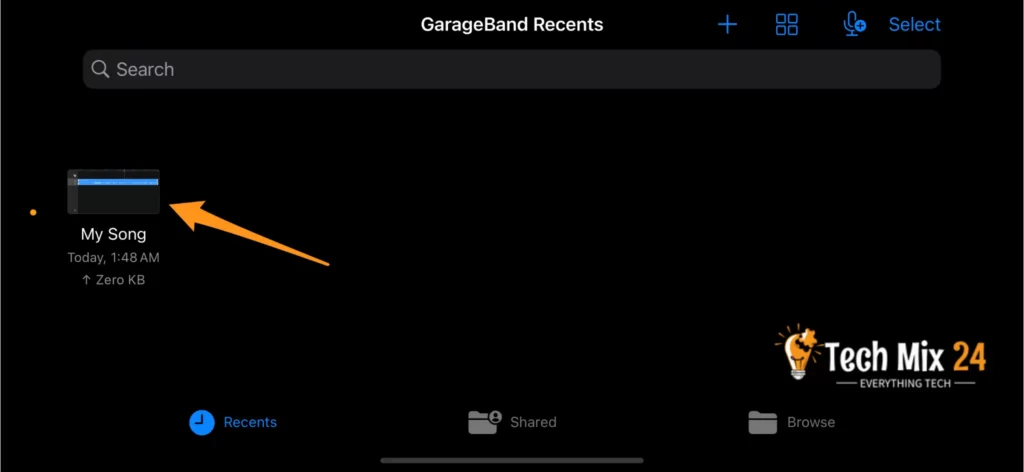
Click the downward arrow at the upper left of the screen and choose “My Songs.”
Once you’ve clicked on it, your clip will appear on a new screen, most likely labeled “My Song.”
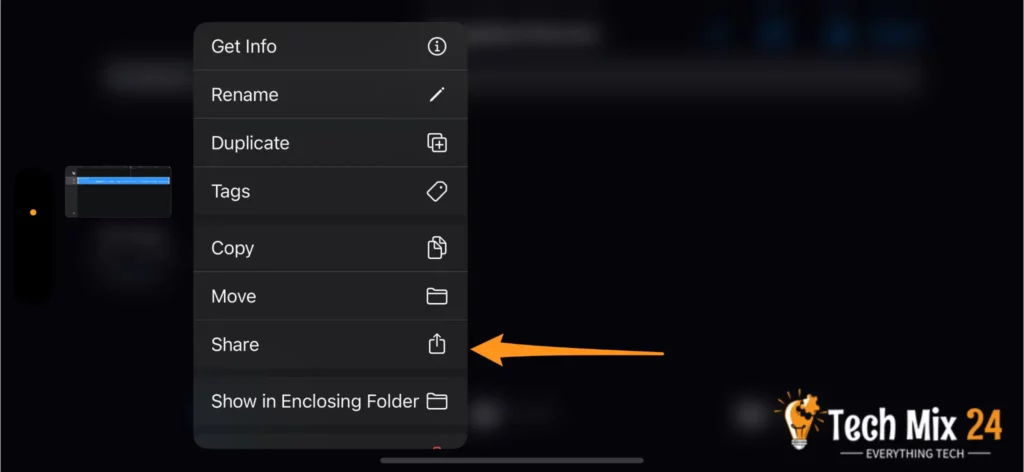
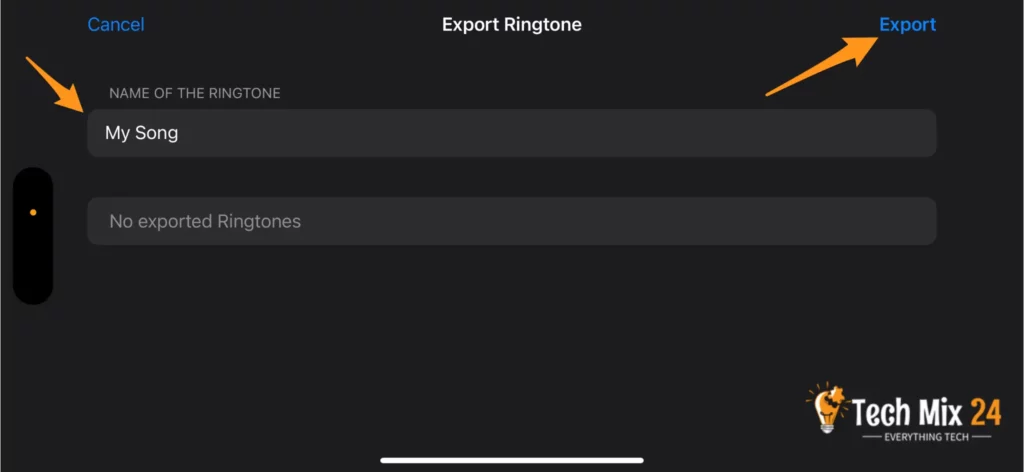
To share the clip, tap and hold it until the menu appears, then select the Share option. For ringtones
Choose the ringtone and click the “Continue” button.

Click on the “Export” button in the upper-right corner of your screen, and Garageband will begin exporting your new ringtone.
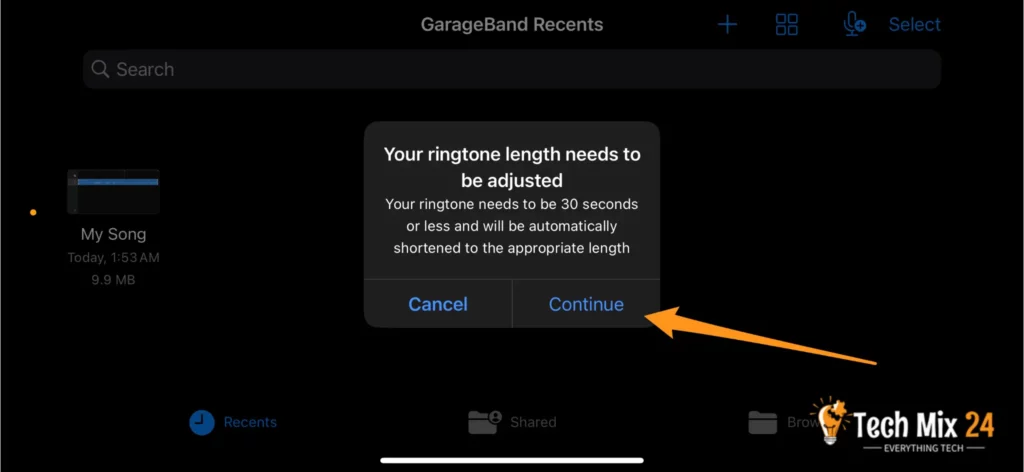
After clicking Share this message, the program will show you, “Your ringtone length needs to be adjusted.
Your ringtone needs to be 30 seconds or less and will be automatically shortened to the appropriate length.” Click Continue
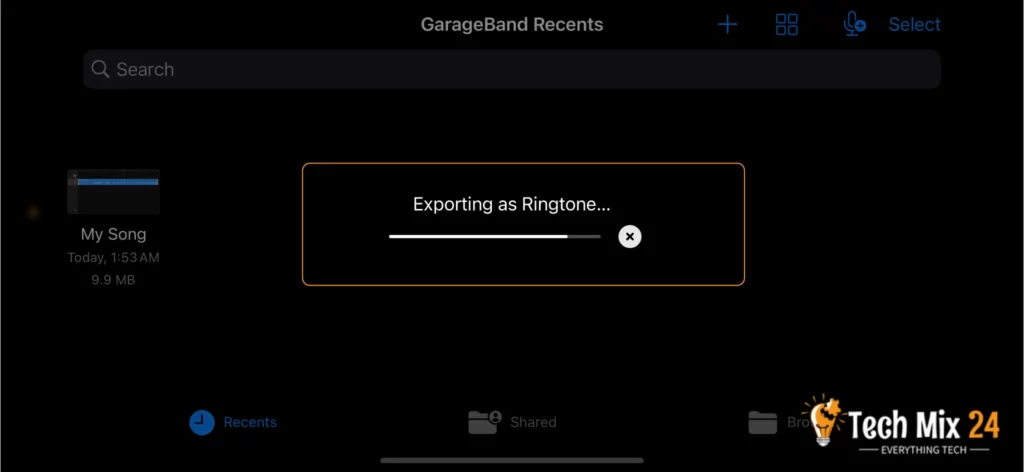
The program will export the sound or song into a ringtone instead of the default iPhone ringtone.
You will see a message that your ringtone has been successfully exported.
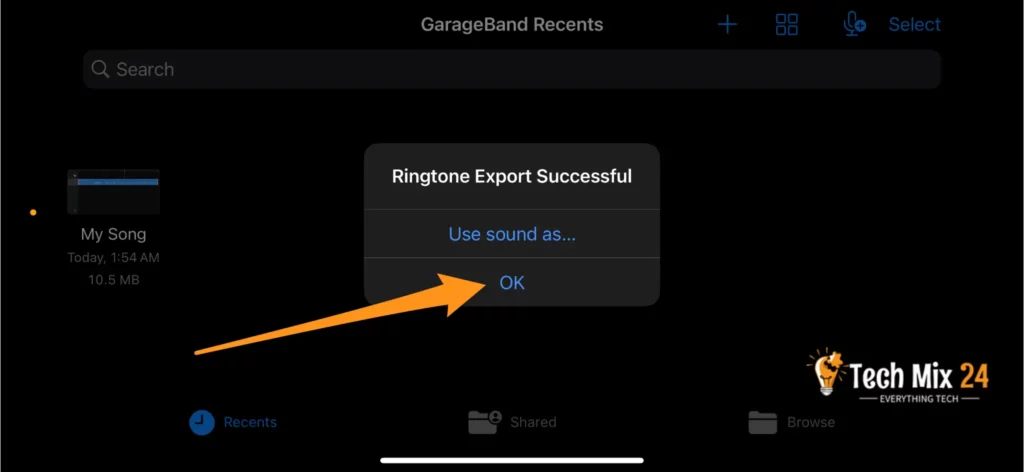
Now, a ringtone has been created for the iPhone instead of the default, and you can choose it as a ringtone for your phone. I listen
The process of manually setting a new ringtone on an iPhone can be accomplished by navigating to the device’s Settings, selecting “Sounds & Haptics,” and then choosing the option for “Ringtone.” It should be noted that the newly established ringtone will be listed in alphabetical order as “My Song” unless it has been renamed within the Garageband application.

How to purchase ringtones through Apple
To buy ringtones directly on your iPhone, follow these steps:
- Open the iTunes Store app (not the Apple Music or App Store app). If you can’t find the iTunes Store, search on your iPhone or ask Siri to “Turn on the iTunes Store.” You can also access the iTunes Store through the Settings app by going to Sound & Haptics > Ringtone > Tone Store.
- Tap on the More button, the three-dot button at the bottom of the screen.
- On the next screen, tap on Ringtones.
- You will now be in the ringtones section. Most ringtones cost $1.29, while others cost $0.99. Please tap on the icon to preview the tone and then tap the price button to purchase it.
Once you have purchased a ringtone, you will have the option to set it. The ringtone will be available in your iPhone settings, and you can always change it to your liking.
The application used to change the iPhone ringtone
GarageBand is a fantastic app for iPhone or iPad users who love Music. Developed by Apple, it allows you to easily create, record, and edit Music in professional quality. Here’s a rundown of everything you need to know about GarageBand:
- User-friendly interface: GarageBand’s interface is designed to be intuitive and visually appealing, making it easy to access different tools and features.
- Wide variety of instruments: From pianos to guitars to electronic devices, GarageBand has an impressive collection of musical instruments you can use to create Music.
- Extensive sound Library and effects: The app includes a massive library of sounds and sound effects that you can use to enhance your musical projects.
- Recording and performance capabilities: You can use your iPhone’s built-in microphone to directly record audio and music performances in GarageBand.
- Advanced editing options: GarageBand offers advanced music editing features that allow you to cut, copy, and paste music sections.
- Professional-grade effects and features: With options like echo effects, distortion, and amp simulation, GarageBand boasts a wide range of advanced products and features.
- Sharing made easy: You can easily export your music projects and share them with others via email, social media, or even upload them to music-sharing platforms.
- Integration with other devices: GarageBand allows you to connect external instruments and MIDI devices, expanding your music production possibilities.
- Pre-made projects: The app includes pre-made projects that you can use as a starting point for creating your Music.
▹ Download GarageBand from Apple Store
GarageBand is a fantastic app for beginners and professionals who want to create and edit Music creatively and professionally on their iPhones. Its outstanding features and user-friendly interface make it a must-have for music lovers.
Conclusion
By the end of this article, we’ve discovered that changing your iPhone ringtone can be excellent and helpful, regardless of your model. It’s easy to make your phone fit your personality and musical preferences.
There are many options for downloading new ringtones and setting your favorite songs as your ringtone to inject creativity and energy into your phone. No matter your style or Music taste, switching up your default ringtone and making your smartphone more personal is always accessible.
So, use the steps and resources shared in this article to make this happen! Put your stamp on your phone, let your ringtone reflect who you are, and add some extra flair to your daily life. Get started now and enjoy hearing your favorite tune whenever you get a call on your iPhone!


